

[react-native] Start screen transition with react-navigation
Today, let's learn about screen transitions in react-native using react-navigation open source.
First, you can follow it more easily if you turn on the official Document. It's nice that blog posts are simply organized, but it's a good idea to always get into the habit of reading official documents.
First, let's create a project.
Open the terminal on Mac or cmd on Windows to create a react-native project.
I will create a react-native project named navigation.
1# npx react-native init {your project name}2npx react-native init navigation
Let's install react-navigation along with the dependencies as stated in the official document.
1# cd {your project name}2cd navigation34# react-navigation/native and react-navigation/stack5# dependencies(react-native-screens, react-native-safe-area-context) of react-navigation/native6# dependency(react-native-gesture-handler) of react-navigation/stack7yarn add @react-navigation/native @react-navigation/stack react-native-screens react-native-safe-area-context react-native-gesture-handler
2-1. ios additional actions
iOS additional work For iOS, you need to perform a pod install to connect the modules you just installed.
1cd ios2pod install3cd ..
2-2. android additional actions
For Android, you need to add the code below in android/app/src/main/java/<project name>/MainActivity.java.
If you do not add the code below, an abnormal termination may occur when the app switches from the background to the foreground.
1// android/app/src/main/java/<your project name>/MainActivity.java23public class MainActivity extends ReactActivity {4 // ...5 @Override6 protected void onCreate(Bundle savedInstanceState) {7 super.onCreate(null);8 }9 // ...10}
2-3. ios, android common tasks
Import react-native-gesture-handler, a dependency of @react-navigation/stack, from index.js.
Otherwise, errors may occur during building or problems may occur when switching screens.
1// index.js23// ...4- import 'react-native-gesture-handler';5// ...
The test screen will be structured as follows.
After creating the src/screens folder, move App.tsx that was previously in the root directory.
Likewise, create Navigator.tsx, Screen1.tsx, and Screen2.tsx files in the src/screens folder.
Also, create a Navigation.ts file to declare the type of navigation after creating the types folder.
📦src
 ┣ 📂screens
 ┃ ┣ 📜App.tsx
 ┃ ┣ 📜Navigator.tsx
 ┃ ┣ 📜Screen1.tsx
 ┃ ┗ 📜Screen2.tsx
 ┗ 📂types
 ┃ ┗ 📜Navigation.ts
3-1. Navigation.ts
Before writing any other code, specify the types of screens that exist in Naivgation.
Since we only have Screen1 and Screen2, we set the type as follows.
The undefined value of Screen1: and Screen2: means that the type required to display each screen does not exist.
I will explain this further in the next post, but will move on for now.
1// src/types/Navigation.ts23export type NaviParamList = {4 Screen1: undefined;5 Screen2: undefined;6};
3-2. Screen1.tsx
There is nothing very difficult, but to add an explanation, in 3-1 above, declare NavigationProp by specifying the declared NaviParamList and the current screen name.
After that, create a navigation variable that uses the NavigationProp type declared through the useNavigation hook.
Attach an onPress event to the Move to Screen-2 button to execute the function to move to Screen-2.
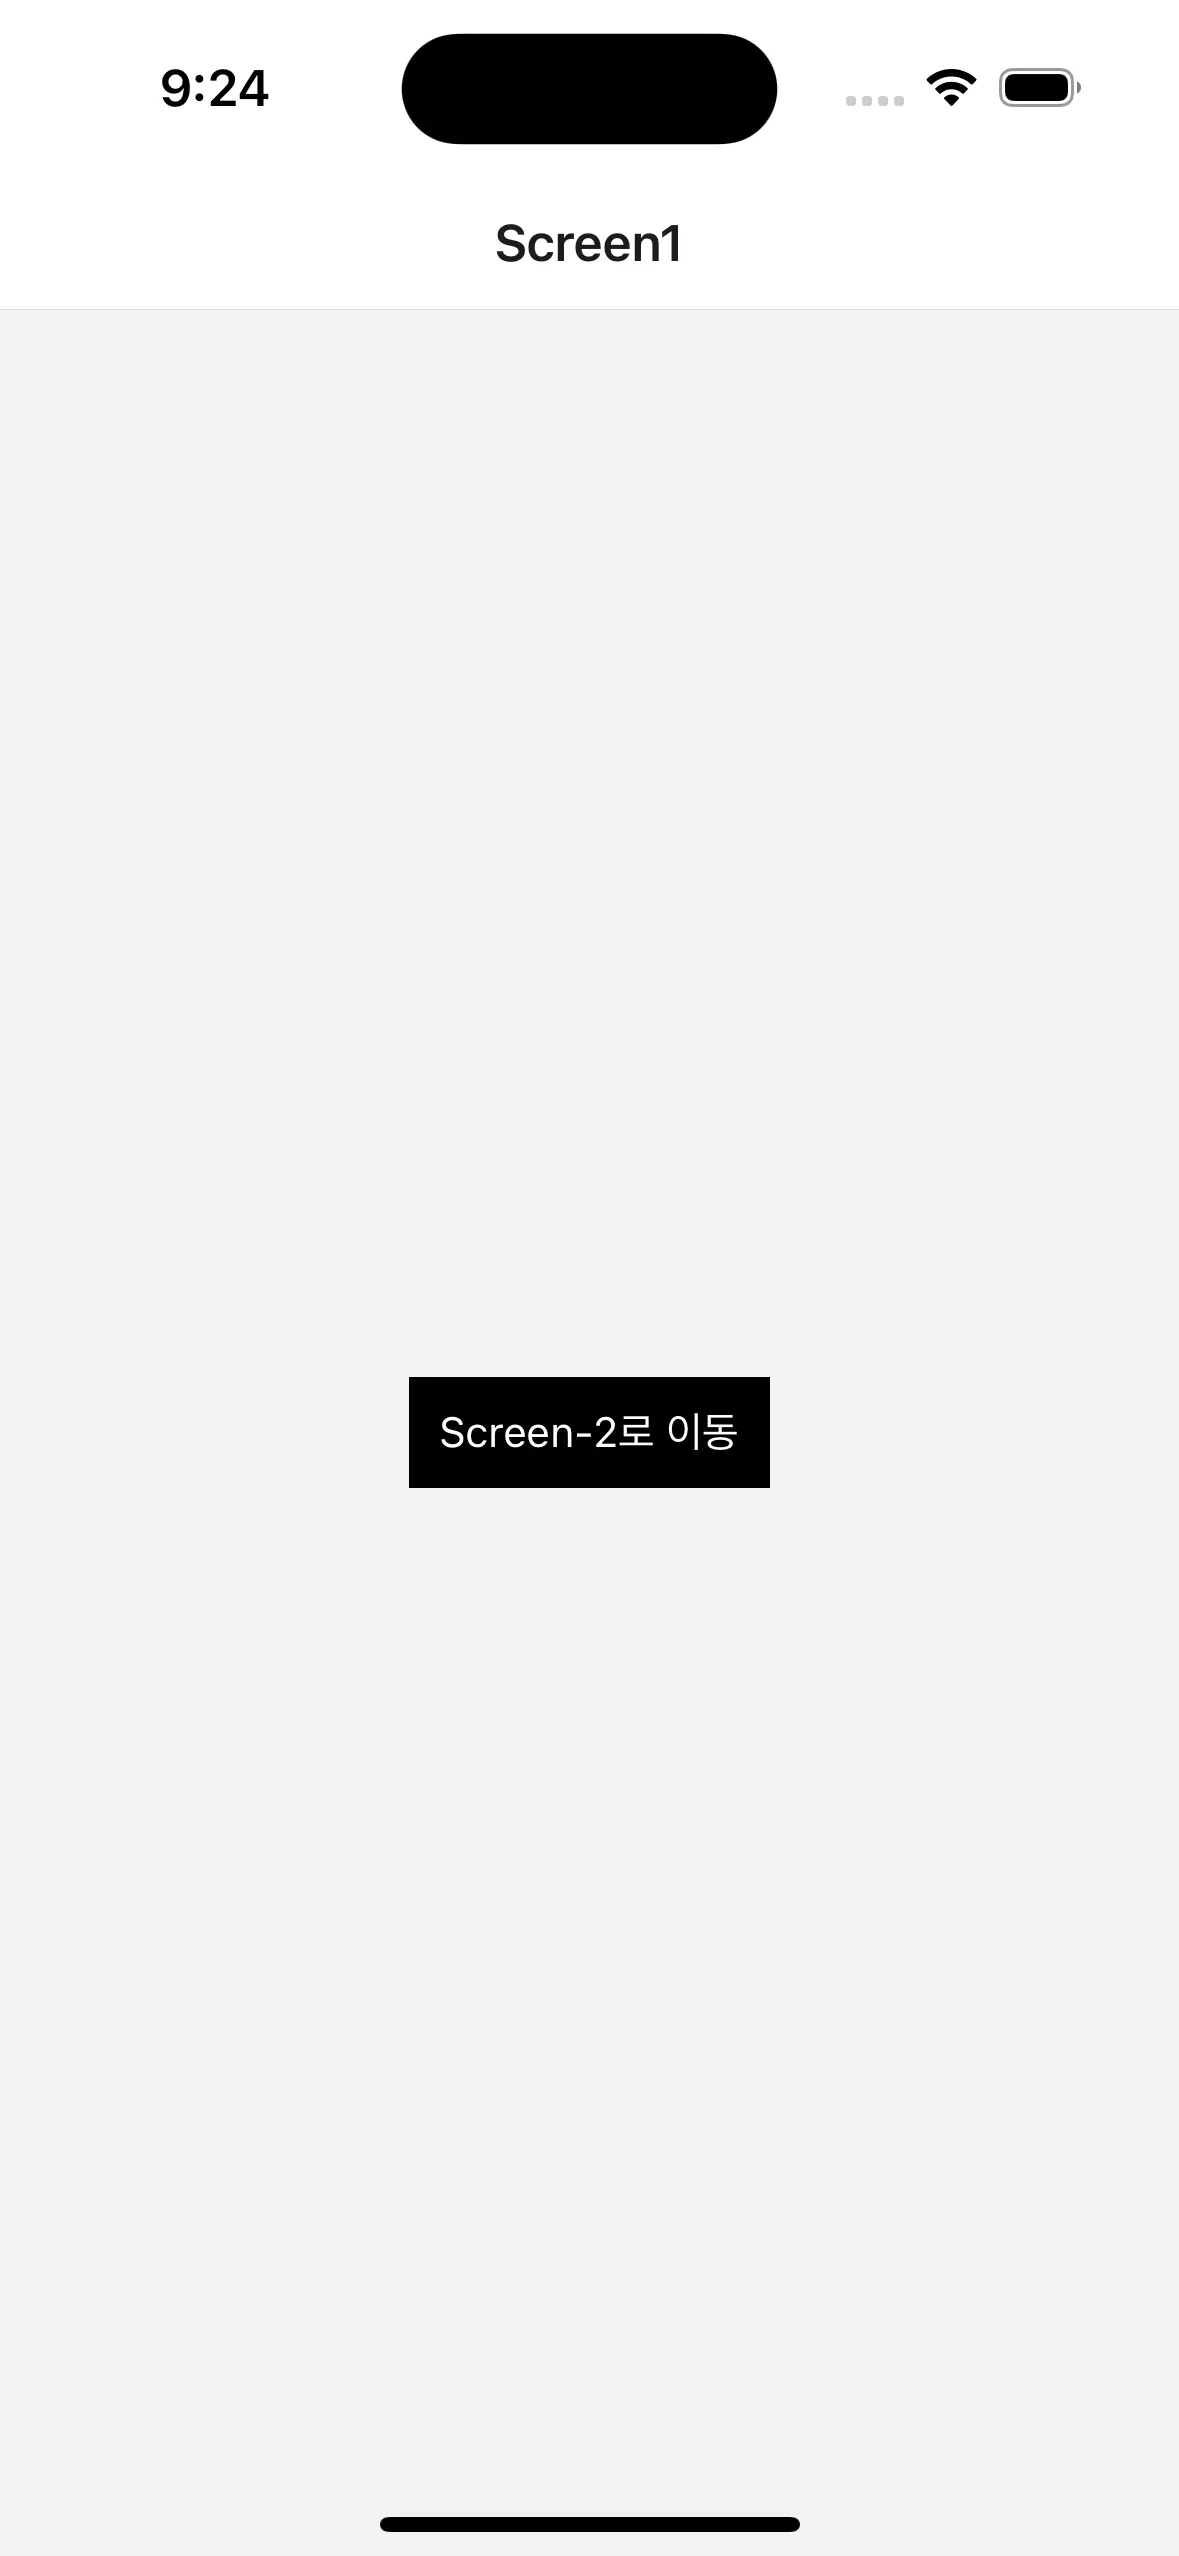
1// src/screens/Screen1.tsx23import { StackNavigationProp } from '@react-navigation/stack';4import React from 'react';5import { StyleSheet, Text, TouchableOpacity, View } from 'react-native';6import { NaviParamList } from '../types/Navigation';7import { useNavigation } from '@react-navigation/native';89const styles = StyleSheet.create({10 container: {11 flex: 1,12 alignItems: 'center',13 justifyContent: 'center',14 },15 button: {16 padding: 10,17 backgroundColor: 'black',18 },19 buttonLabel: {20 color: 'white',21 },22});2324type NavigationProp = StackNavigationProp<NaviParamList, 'Screen1'>;2526export default function Screen1() {27 const navigation = useNavigation<NavigationProp>();2829 return (30 <View style={styles.container}>31 <TouchableOpacity style={styles.button} onPress={() => navigation.navigate('Screen2')}>32 <Text style={styles.buttonLabel}>Screen-2로 이동</Text>33 </TouchableOpacity>34 </View>35 );36}
3-3. Screen2.tsx
It is the same as Screen 1 above.
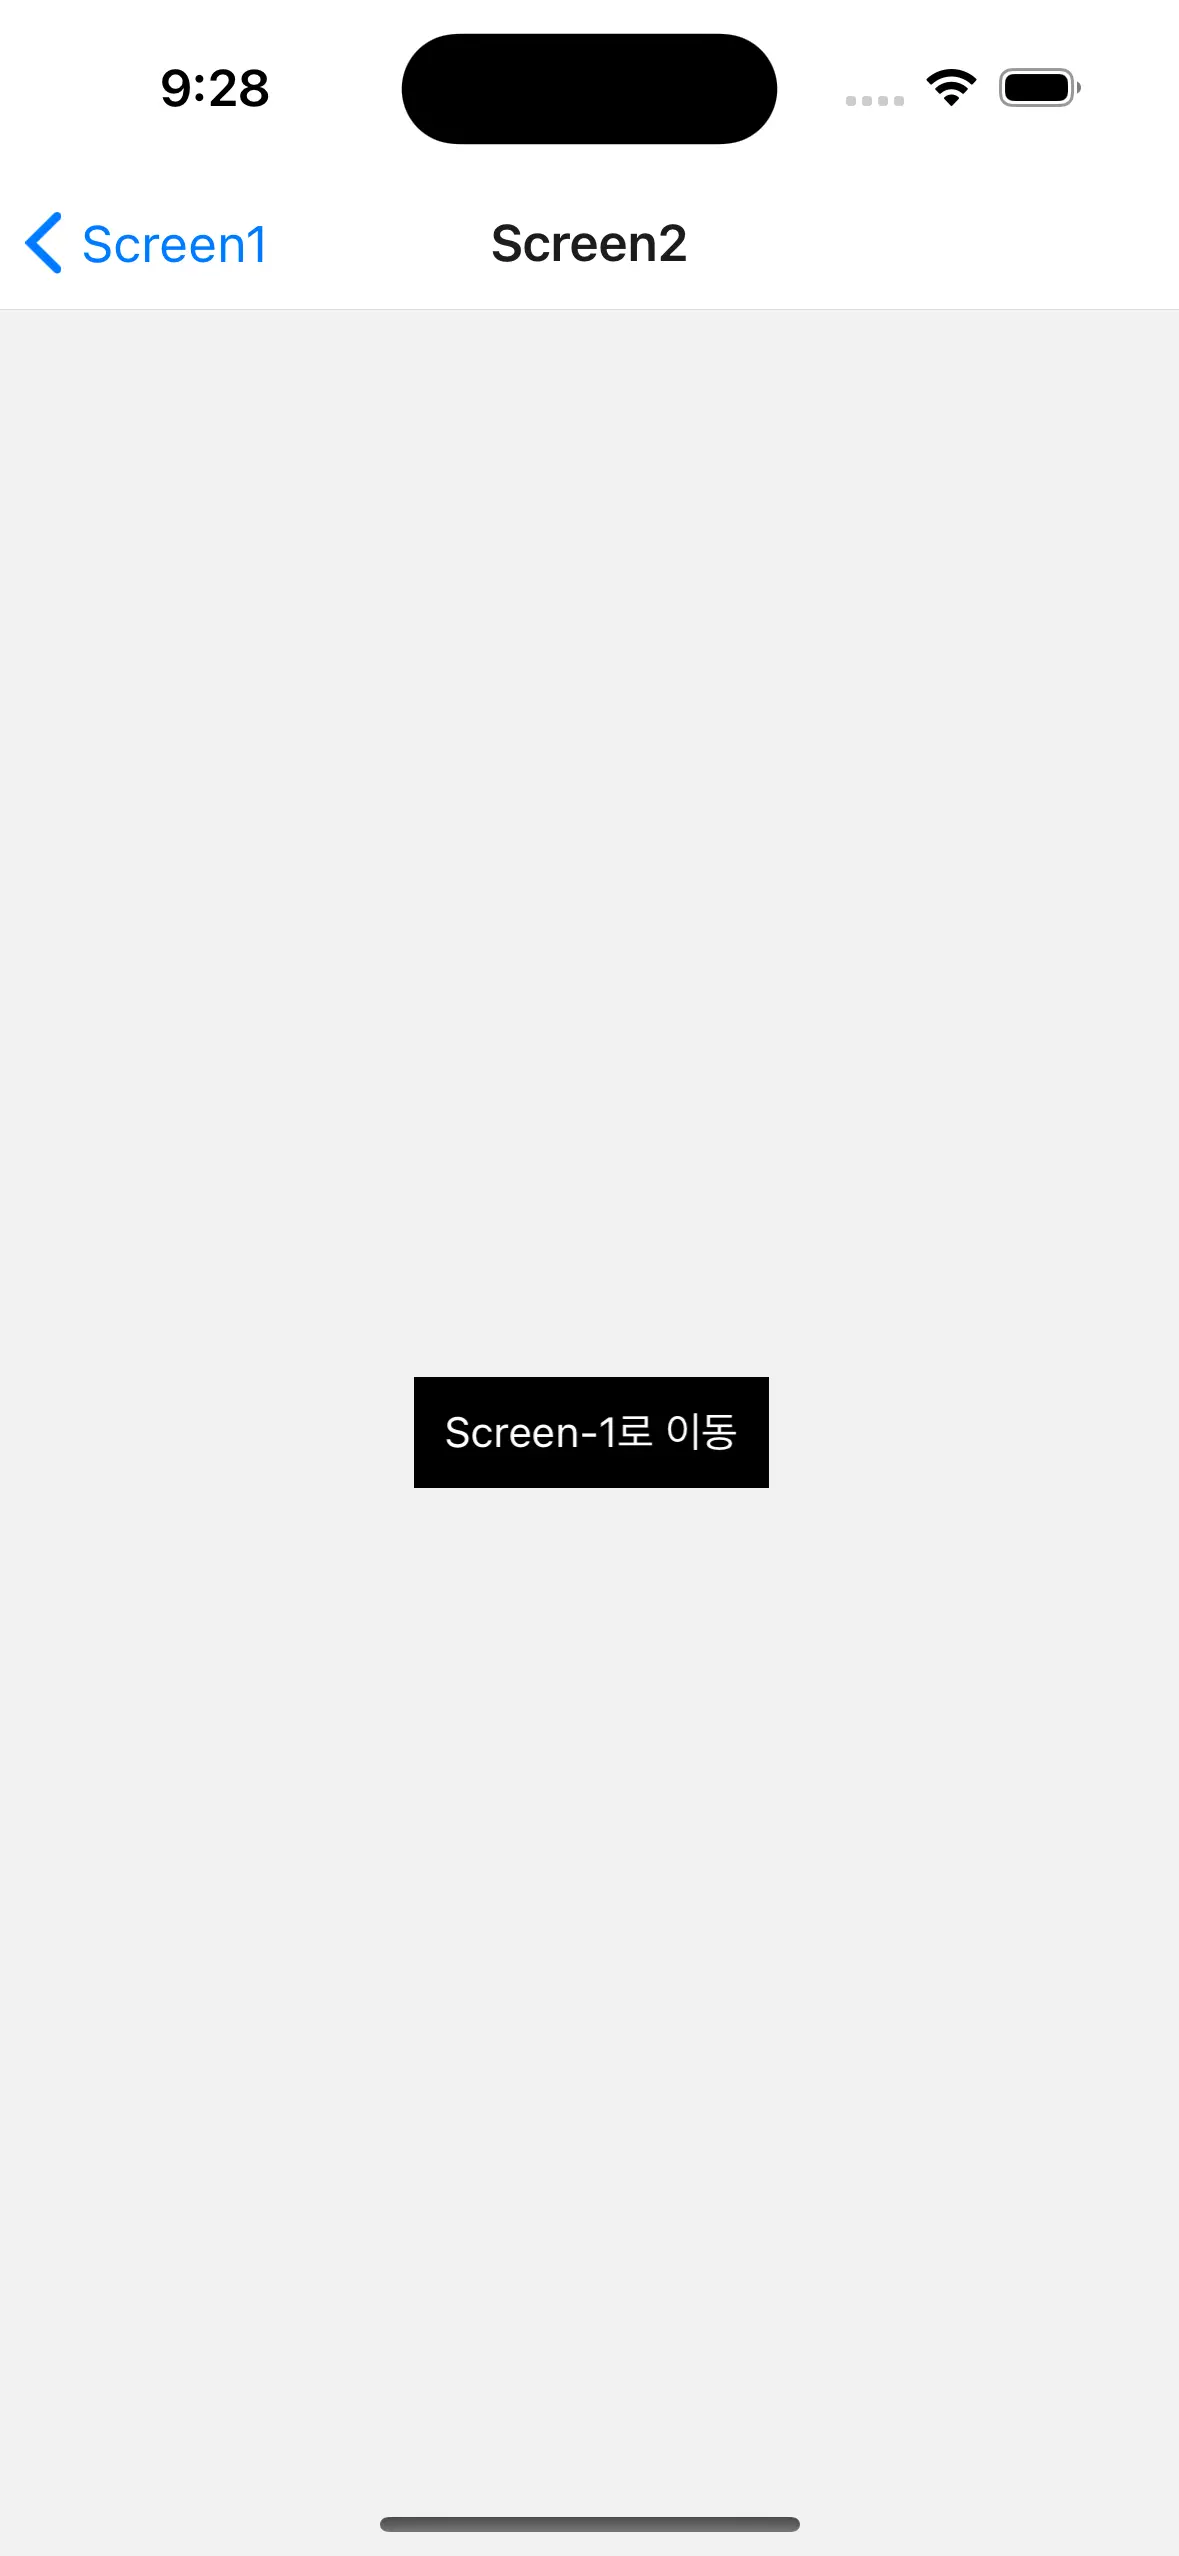
1// src/screens/Screen2.tsx23import { StackNavigationProp } from '@react-navigation/stack';4import React from 'react';5import { StyleSheet, Text, TouchableOpacity, View } from 'react-native';6import { NaviParamList } from '../types/Navigation';7import { useNavigation } from '@react-navigation/native';89const styles = StyleSheet.create({10 container: {11 flex: 1,12 alignItems: 'center',13 justifyContent: 'center',14 },15 button: {16 padding: 10,17 backgroundColor: 'black',18 },19 buttonLabel: {20 color: 'white',21 },22});2324type NavigationProp = StackNavigationProp<NaviParamList, 'Screen2'>;2526export default function Screen2() {27 const navigation = useNavigation<NavigationProp>();2829 return (30 <View style={styles.container}>31 <TouchableOpacity style={styles.button} onPress={() => navigation.navigate('Screen1')}>32 <Text style={styles.buttonLabel}>Screen-1로 이동</Text>33 </TouchableOpacity>34 </View>35 );36}
3-4. Navigator.tsx
Now we need to create a navigator to connect Screen1 and Screen2 created above, right?
First, create a Stack object using createStackNavigator.
After that, enter the screens you want to include like the code below.
1// src/screens/Navigator.tsx23import React from 'react';4import { createStackNavigator } from '@react-navigation/stack';5import { NaviParamList } from '../types/Navigation';6import Screen1 from './Screen1';7import Screen2 from './Screen2';89const Stack = createStackNavigator<NaviParamList>();1011export default function Navigator() {12 return (13 <Stack.Navigator>14 <Stack.Screen name="Screen1" component={Screen1} />15 <Stack.Screen name="Screen2" component={Screen2} />16 </Stack.Navigator>17 );18}
3-5. Edit App.tsx
Now, after deleting all the basic codes in App.tsx, wrap the Navigator created above with NavigationContainer as shown in the code below.
1// src/screens/App.tsx23import { NavigationContainer } from '@react-navigation/native';4import React from 'react';5import Navigator from './Navigator';67export default function App() {8 return (9 <NavigationContainer>10 <Navigator />11 </NavigationContainer>12 );13}
3-6. Edit index.js
Lastly, just edit the App.tsx import path in index.js and you're done!
1// ...23- import App from './App';4+ import App from './src/screens/App';56// ...
Now check whether the code written above works well.
It'll probably work fine.
Since version 0.7 of react-native, an error may occur while running a newly created project.
The message "launchPackager.command" can't be opened appears.
In this case, please check this post for a solution.
1# ios test2yarn ios34# android test5yarn android
https://github.com/classic-95/react-navigation-practice/tree/main/navigation-1
Today, we learned how to switch screens using react-navigation by writing simple code.
In the next post, what are the situations in which screen transition functions such as navigate, push, and replace of react-navigation are used? Let's find out how to use it.