

[gatsby] Creating an mdx based blog-1
There are three main frameworks that are most popular when creating markdown, md, or mdx-based blogs.
Those are jekyll, Hugo, and Gatsby.
Among them, today we will learn how to create a blog using Gatsby.
I will explain this separately into macOS and Windows, but if you have already installed each item, please scroll down immediately.
Of course, it is already well organized in the official document, so you can proceed by looking at the official document.
1-1-1. [macOS] Installing Node.js
First, let's start by assuming that Homebrew is installed.
If you haven't installed it yet, you can read this post and follow along.
With Homebrew installed, open a terminal and run the command below.
(If an error occurs during installation, log back in to the account you used to log in to your Mac on the Apple site and proceed again in the terminal.)
When the terminal asks you to agree to the software license, agree and proceed.
1xcode-select --install
Afterwards, install node.js using Homebrew.
1brew install node
1-1-2. [macOS] Installing Git
Since git is a program that developers basically use, you probably already have it installed, but I'll write it down just in case!
1brew install git
After installation is complete, register your Github account.
1git config --global user.name "your github name"2git config --global user.email "your github email"
1-2-1. [Windows] Installing Node.js
Installation on Windows is very simple.
Please visit the official Site and click the button with LTS.
After that, run the downloaded .exe file.
If this screen appears during installation, click the checkbox and proceed!

1-2-2. [Windows] Installing Git
Git is also very simple to install on Windows.
Visit the the official site and click the Download button to install and run the .exe file.
1-3. Installing gatsby-cli (macOS, Windows)
Now install gatsby command-line-interface.
1npm install -g gatsby-cli
When installation is complete, check to see if it was installed properly.
1gatsby --version2# Gatsby CLI version: 5.12.43# Gatsby version: 5.12.9
Now we will finally create the Gatsby project!
You can create it right away using a template that is already in place, but since we are learning today, let's create the project in its initial state!
1# Please move to the folder where you want to create the project and proceed.23gatsby new
Please enter your desired blog name.
1What would you like to call your site?2✔ · Classic95's blog
Please set the desired project name.
1What would you like to name the folder where your site will be created?2✔ {Current folder name}/ Classic95
Please choose between js and ts.
Of course, I chose ts, but if you will continue to follow this article in the future, please select ts. If not, please select your preferred language.
In the future, ts is expected to become established in many places such as open source, collaborative projects, and companies, so we recommend using it!
1Will you be using JavaScript or TypeScript?2 JavaScript3❯ TypeScript
This is the part where you select the Content Management System,
but since the goal of the last part of this post is to distribute it to Github,
I will choose No (or I'll add it later).
Of course, you can choose the CMS you want later.
1? Will you be using a CMS?2(Single choice) Arrow keys to move, enter to confirm3❯ No (or I'll add it later)4 –5 Contentful6 DatoCMS7 Netlify CMS8 Sanity9 Shopify10 WordPress
This is a convenient feature as it automatically configures the gatsby plugin settings when you select the styling system you want.
I chose styled-components.
Please choose what you want.
1? Would you like to install a styling system?2(Single choice) Arrow keys to move, enter to confirm3 No (or I'll add it later)4 –5 Emotion6 PostCSS7 Sass8❯ styled-components9 Theme UI10 vanilla-extract11 Tailwind CSS
This time, please select the features you want to add when creating the project.
I chose the four below. If you are going to follow these blog posts, I recommend that you choose the same thing I did.
Even if you don't follow them all, be sure to select Add Markdown and MDX support!
Of course, don't worry, you can manually set up the plugin later even if you don't select it here!
1? Would you like to install additional features with other plugins?2(Multiple choice) Use arrow keys to move, spacebar to select, and confirm with an enter on "Done"3 ◯ Add the Google gtag script for e.g. Google Analytics4 ◉ Add responsive images5 ◉ Add an automatic sitemap6 ◉ Generate a manifest file7❯◉ Add Markdown and MDX support8 ◯ Add Markdown support (without MDX)9 ─────10 Done
Lastly, this is a procedure to check the settings made so far.
If there are no mistakes, please check and enter Yes.
1Thanks! Here's what we'll now do:23 🛠 Create a new Gatsby site in the folder Classic954 🎨 Get you set up to use styled-components for styling your site5 🔌 Install gatsby-plugin-image, gatsby-plugin-sitemap,6gatsby-plugin-manifest, gatsby-plugin-mdx789? Shall we do this? (Y/n) › Yes
Once installation is complete, enter the commands below.
1cd {your project name}23yarn develop
If you enter http://localhost:8000 into the browser and the screen below appears, it is successful!
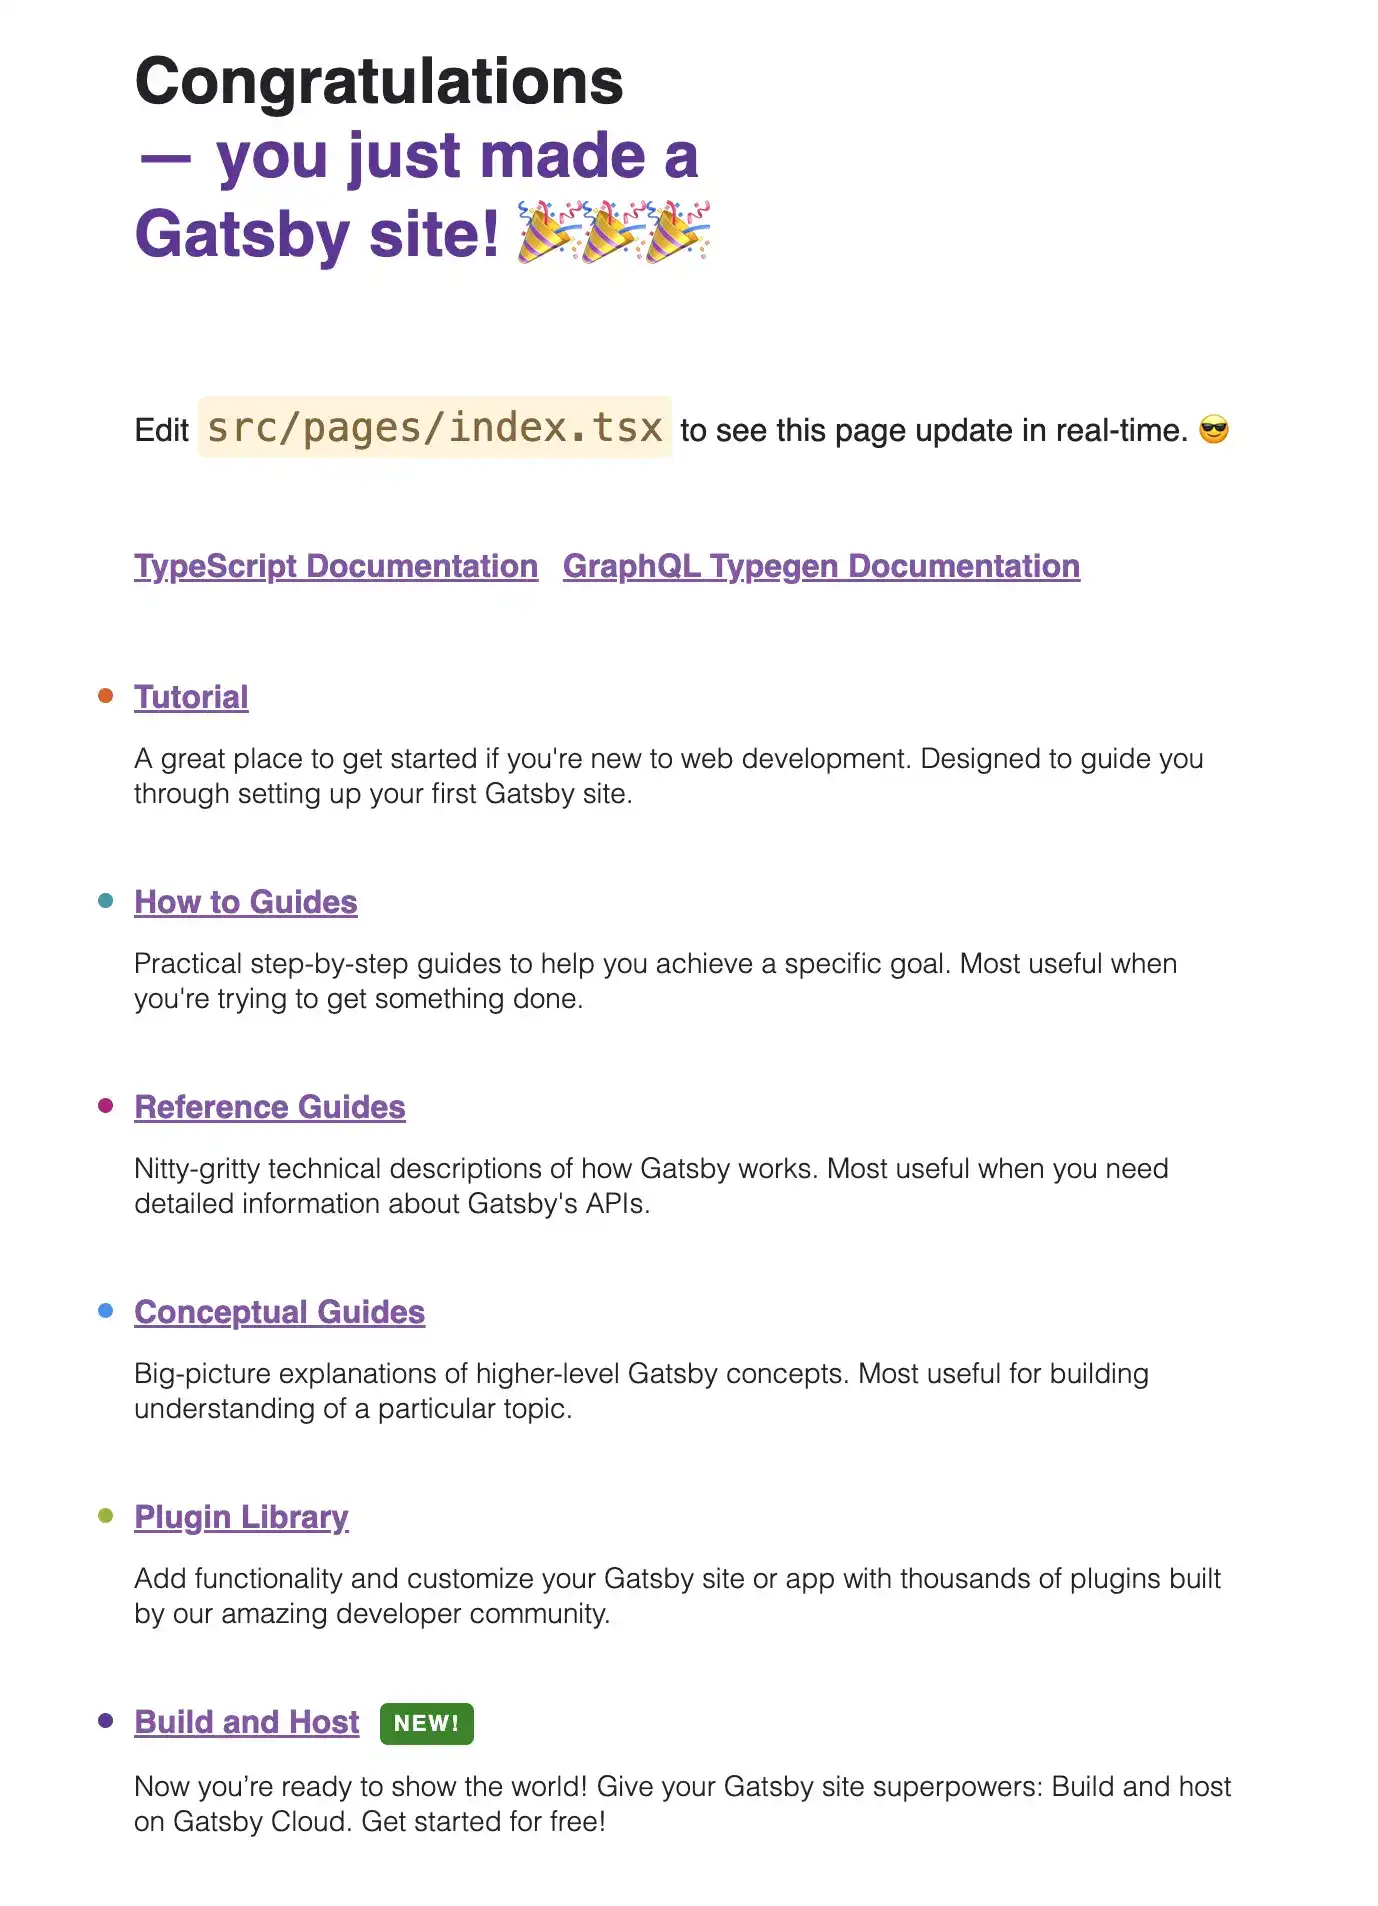
Today we learned about the Gatsby blog installation environment and how to create and run an initial project.
In the next post, we will learn about the grammar of writing based on mdx.